↗ View this article in the original PDF newsletter
10 The Fife and Drum
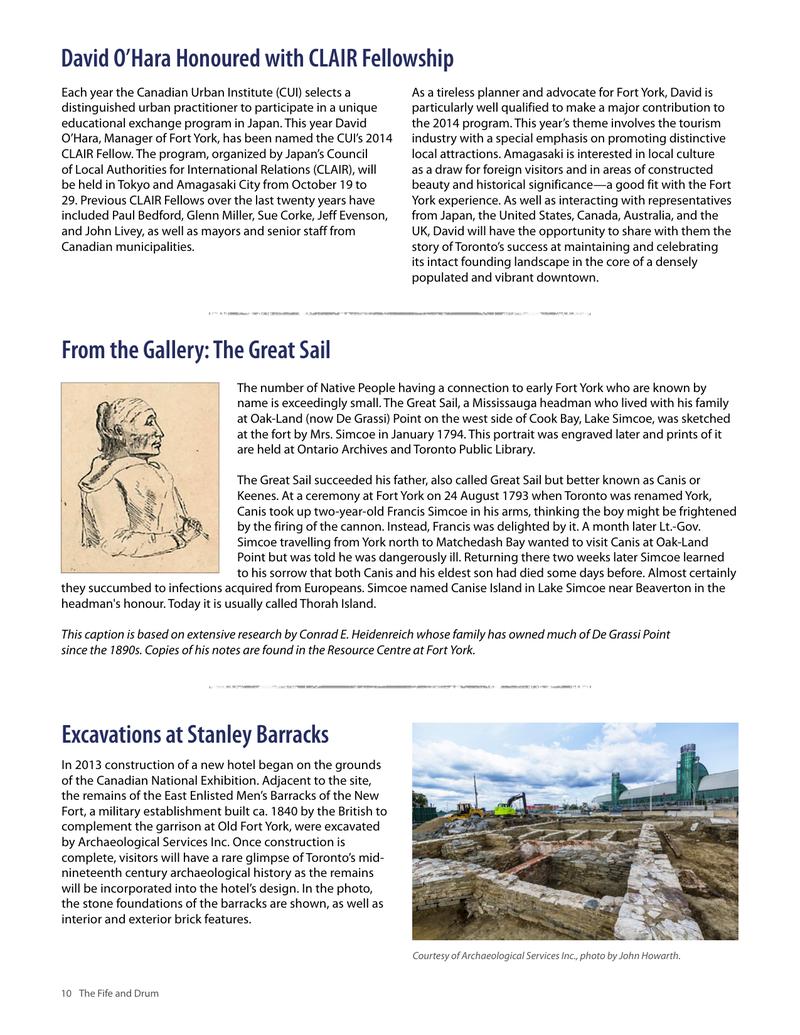
Courtesy of Archaeological Services Inc., photo by John Howarth.
Original printed pages
↗ View this article in the original PDF newsletter
10 The Fife and Drum
Courtesy of Archaeological Services Inc., photo by John Howarth.
